Loading...
The Ultimate Guide to Cart Checkout GraphQL

The Ultimate Guide to Cart Checkout GraphQL

Introduction

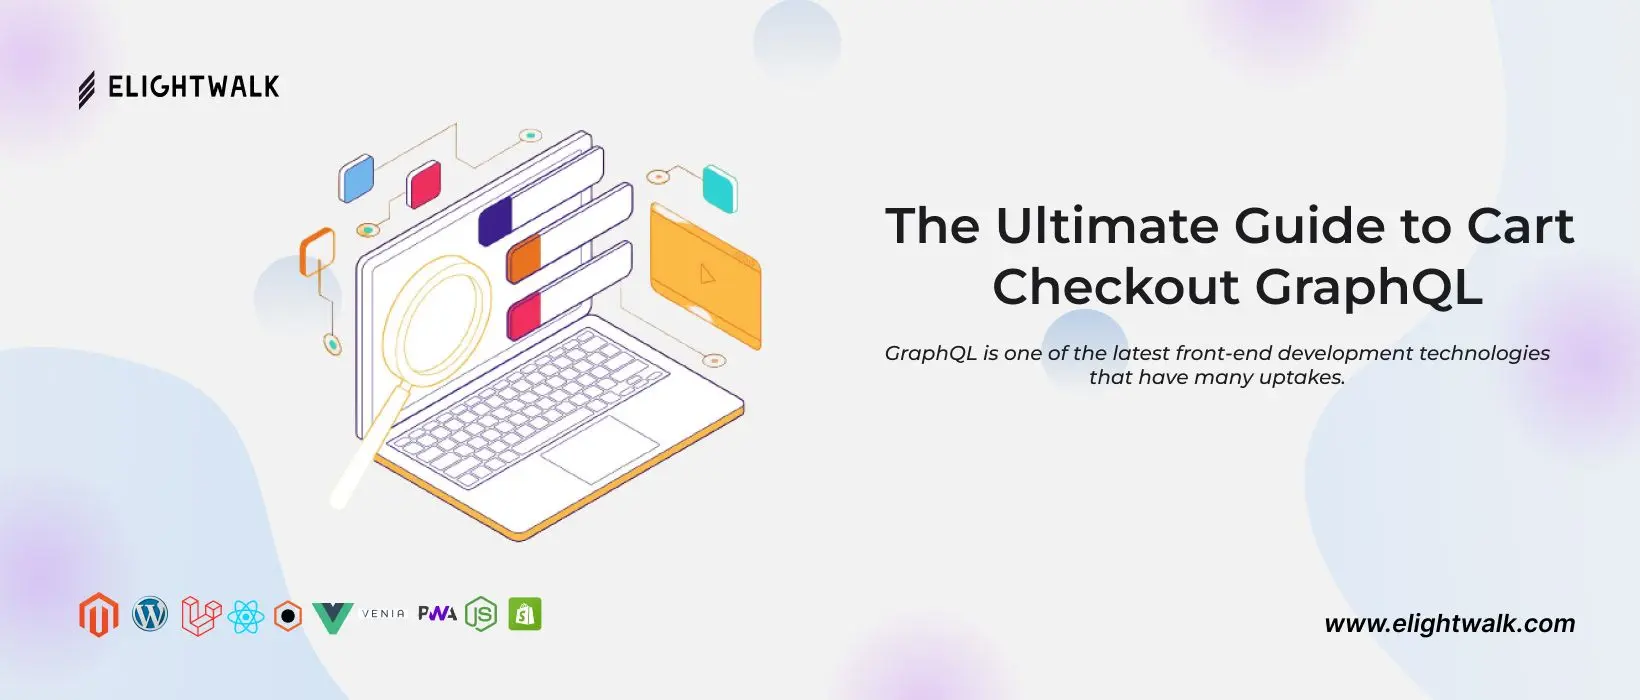
GraphQL is one of the latest front-end development technologies that have many uptakes. It's a query language for server-to-server communication, allowing developers to write self-describing code that is easier to read. This makes it perfect for building user interfaces. GraphQL enables you to access data quickly and easily without going back and forth between layers of code.

If you want to improve your eCommerce website's checkout process, consider using GraphQL.Using this technology, you can ensure that all checkout-related data is maintained in a single location, making it easier for customers to utilise your website. In addition, GraphQL makes it easy to handle errors and keep track of what's happening during the checkout process..

Step 1 : Create Empty Cart

  • First, use a GraphQL mutation to create an empty cart for the customer. This will initialize the cart object and assign it a unique identifier.
  • To create an empty cart for a guest, use the following example.
js

mutation createEmptyCart($input:createEmptyCartInput){
    createEmptyCart(input:$input)
}

Step 2 : add Products to Cart

  • Next, implement a mutation to add products to the cart. You can pass the product IDs and quantities as arguments to the modification to populate the cart with the desired items.
js

mutation addProductsToCart($cartId: String!, $cartItems: [CartItemInput!]!) {
   addProductsToCart(cartId: $cartId, cartItems: $cartItems) {
       cart {
           id
           items {
               errors {
                   message
               }
               product {
                   name
               }
               quantity
               uid
           }
       }
   }
}

// query variables:

{
   "cartId":"IQSxVBfMzWkZxnQ2IYQ8HDztYVw9iNXR",
   "cartItems":[{
       "quantity" :1,
       "sku":"Test Mobile"
   }]
}

Step 3 : Set guest email on cart

  • If the customer is a guest, provide an input field to capture their email address. Use a mutation to set the guest's email on the cart, allowing for communication and order tracking.
  • You can skip this step if you have already placed the order as a registered customer. However, you must set a quote email address if you purchased a guest user. To do this, use the setGuestEmailOnCart mutation query. Remember to input the unique shopping cart ID from the previous step, { CART_ID }.1. Create an empty cart.
  • The following mutation adds a guest email to the shopping cart.
js

mutation setGuestEmailOnCart($input: SetGuestEmailOnCartInput){
   setGuestEmailOnCart(input:$input){
       cart{
           email
       }
   }
}

// query variables:
{
   "input": {
       "cart_id": "IQSxVBfMzWkZxnQ2IYQ8HDztYVw9iNXR",
       "email": "develop@elightwalk.com"
   }
}

Step 4 : Set shipping addresses on the cart

  • { CART_ID } is the unique shopping cart ID from Step 1. Create empty cart
  • We must pass the cart_id and shipping_addresses parameters below at QUERY VARIABLES and then use them in our query.
  • The following mutation adds a shipping address to the shopping cart.
js

mutation setShippingAddressesOnCart($input: SetShippingAddressesOnCartInput) {
   setShippingAddressesOnCart(input: $input) {
       cart {
           id
           available_payment_methods {
               code
           }
       billing_address {
           street
           company
           postcode
           street
       }
       email
       shipping_addresses {
           available_shipping_methods {
               method_code
               carrier_code
           }
           city
           street
       }
       items {
           errors {
               messageorder_number
           }
           product {
               name
           }
           quantity
           uid
       }
       }
   }
}
// query variables:
{
   "input":{
       "cart_id": "IQSxVBfMzWkZxnQ2IYQ8HDztYVw9iNXR",
       "shipping_addresses":[{
           "address": {
               "city": "test",
               "country_code": "IN",
               "firstname": "test",
               "lastname": "test",
               "region": "GJ",
               "street": ["test"],
               "telephone": "8128405131",
               "save_in_address_book": true,
               "postcode": "360370"
           }
       }]
   }
}

Step 5 : Set shipping methods on the cart

  • The setShippingMethodsOnCart mutation defines the shipping methods for your order.
  • It requires these input parameters:

          cart_id
          carrier_code
          method_code

  • The following mutation query assigns the "flat rate" method.
js

mutation setShippingMethodsOnCart($input: SetShippingMethodsOnCartInput) {
 setShippingMethodsOnCart(input: $input) {
   cart {
     available_payment_methods {
       code
     }
     billing_address {
       street
       company
       postcode
       street
     }
     shipping_addresses {
       available_shipping_methods {
         method_code
       }
       city
       street
       selected_shipping_method {
         method_code
       }
     }
     email
     items {
       errors {
         message
       }
       product {
         name
       }
       quantity
       uid
     }
   }
 }
}
// query variables:
{
 "input":{
   "cart_id": "IQSxVBfMzWkZxnQ2IYQ8HDztYVw9iNXR",
   "shipping_methods":[{
     "carrier_code": "flatrate",
     "method_code": "flatrate"
   }]
 }
}

Step 6 : Set the billing address on the cart

  • Use the setBillingAddressOnCart mutation to set a billing address into the shopping cart.
  • We must pass the cart_id and billing_address parameters below at QUERY VARIABLES and then use them in our query.
  • The following mutation adds a new billing address.
  • Below this query, we pass the same_as_shipping variable. If it's true, the address will be the same as the shipping address.

mutation setBillingAddressOnCart($input: SetBillingAddressOnCartInput) {
 setBillingAddressOnCart(input: $input) {
   cart {
     id
     available_payment_methods {
       code
     }
     billing_address {
       street
       company
       postcode
       street
     }
     shipping_addresses {
       available_shipping_methods {
         method_code
       }
       city
       street
       selected_shipping_method {
         method_code
       }
     }
     items {
       errors {
         message
       }
       product {
         name
       }
       quantity
       uid
     }
     selected_payment_method {
       code
       purchase_order_number
       title
     }
   }
 }
}
// query variables:
{
 "input": {
   "cart_id": "IQSxVBfMzWkZxnQ2IYQ8HDztYVw9iNXR",
   "billing_address": {
     "same_as_shipping": true
   }
 }
}

Step 7 : Set the payment method on the cart

  • Use the setPaymentMethodOnCart mutation to set a payment method into the shopping cart.
  • We have to pass the cart_id and payment_method code parameters below at QUERY VARIABLES, and then we use them in our query.
  • The following mutation set a new payment method.
js

mutation setPaymentMethodOnCart($input: SetPaymentMethodOnCartInput){
 setPaymentMethodOnCart(input:$input){
   cart {
     id
     available_payment_methods {
       code
     }
     billing_address {
       street
       company
       postcode
       street
     }
     shipping_addresses {
       available_shipping_methods {
         method_code
       }
       city
       street
       selected_shipping_method {
         method_code
       }
     }
     items {
       errors {
         message
       }
       product {
         name
       }
       quantity
       uid
     }
     selected_payment_method{
       code
       purchase_order_number
       title
     }
   }
 }
}
// query variables:
{
 "input":{
   "cart_id": "IQSxVBfMzWkZxnQ2IYQ8HDztYVw9iNXR",
   "payment_method": {
     "code": "humm_gateway"
   }
 }
}

Step 8 : Place the order

  • The placeOrder mutation places an order.
  • We must pass the cart_id parameter below at QUERY VARIABLES and then use it in our query.
  • The following mutation places a new order.
js

mutation placeOrder($input: PlaceOrderInput){
 placeOrder(input:$input){
   order{
     order_number
   }
 }
}
// query variables:
{
 "input": {
   "cart_id": "IQSxVBfMzWkZxnQ2IYQ8HDztYVw9iNXR"
 }
}

By following this comprehensive guide, you can leverage the power of GraphQL to build a robust and efficient cart checkout system. Feel free to customize and adapt the implementation to your requirements and business needs.

Ready to implement a seamless cart checkout experience with GraphQL? Follow this step-by-step guide and give your customers a hassle-free purchasing journey today.


Contact us:+91 8128405131

Email send us at hello@elightwalk.com

Jayram Prajapati
Full Stack Developer

Jayram Prajapati brings expertise and innovation to every project he takes on. His collaborative communication style, coupled with a receptiveness to new ideas, consistently leads to successful project outcomes.

Most Visited Blog

Blog
Shipping Bar In Minicart In Magento

Improve client experience in Magento with a dynamic shipping bar into the minicart. Keep informed and increase transparency by presenting shipping data in the minicart for smoother purchase experience.

Read More
Blog
How to get cart discount amount in minicart in Magento 2

Improve your Magento 2 shop by learning how to quickly obtain the cart discount amount within the minicart. Discover how to improve your user experience with visible and dynamic discount information.

Read More
Blog
How to clear shopping cart in Magento 2

Discover a quick and simple approach to emptying your Magento 2 shopping basket. Streamline your shopping experience by learning how to easily delete things and refresh your basket.

Read More