Loading...
checkout UI extension shopify

How to create a checkout UI extension Shopify?

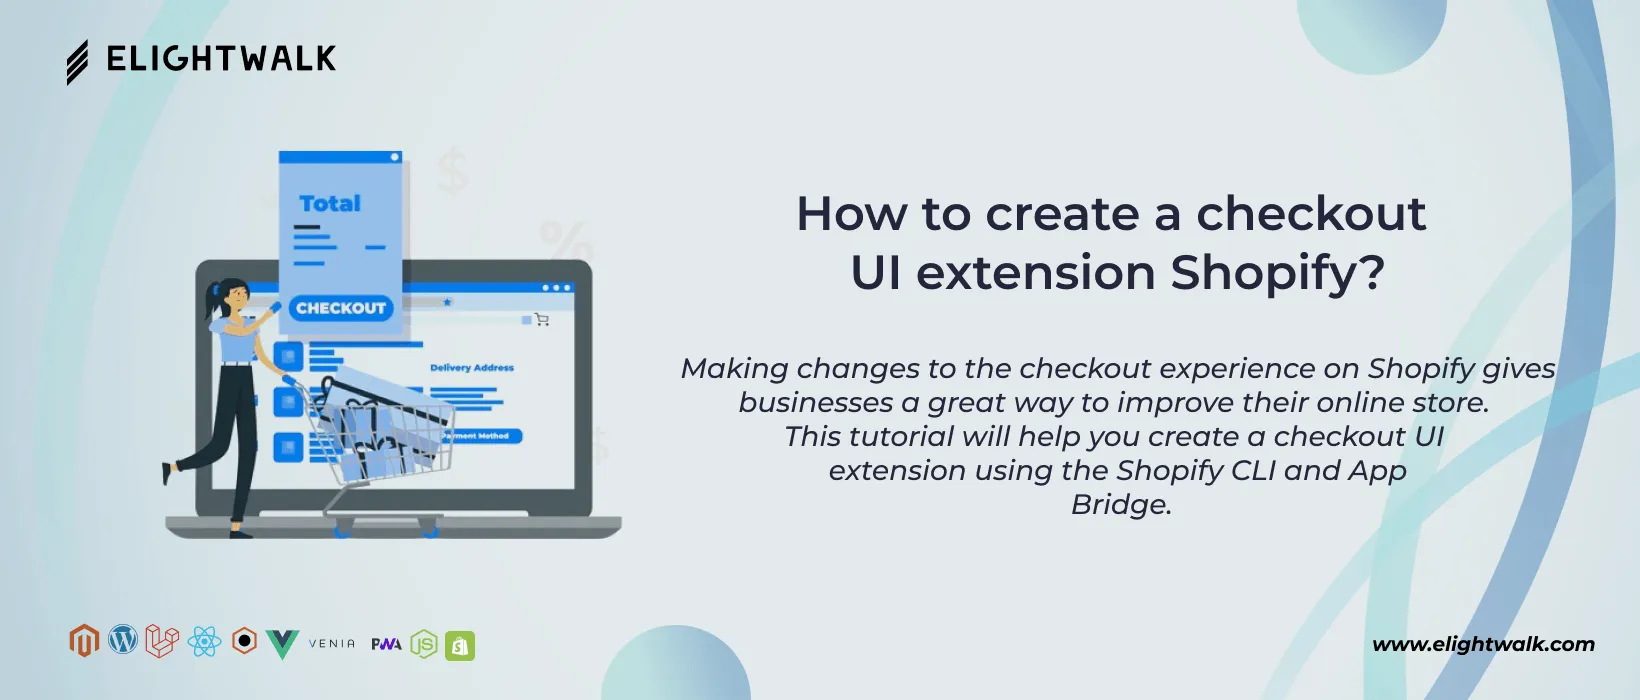
Do you want to give your customers a more personalized, smooth shopping experience? Shopify's UI extension provides a great way to build custom checkout experiences for your storefront. Shopify allows developers to improve the checkout experience by creating UI extensions. These extensions can gather additional information, display custom messages, or integrate third-party services seamlessly into the checkout flow. Discover the power of Shopify UI extension and its uses in business growth.

This blog will give you an overview of creating a custom checkout UI extension on Shopify. This guide will help make a custom checkout UI extension using the Shopify CLI and App Bridge. This guide wraps up all the steps of creating a Shopify UI extension for your store. How to manage and generate UI extensions and essential facts about it.

Step by step guide for creating UI extension on Shopify

To create a checkout UI extension on Shopify, you must access the Shopify Partner Dashboard by logging in with your account credentials.

Once you fire start 'npm run generate extension', it will ask you to log in to the Shopify partner dashboard. If there is no two-factor authentication setup, it will ask for setup.

Step 1: Login into the Dashboard

Once you have successfully logged in, you can proceed to the Apps section of the dashboard menu and begin creating your extension following the below steps.

Create an App From the Shopify Partner Dashboard Using the CLI Tool

(Once you click Create App from Apps Menu, there are two methods to create the Checkout UI Extension.)

Shopify CLI tool uses npm, yarn and ppm commands to create the App using the command line in your local machine.

Let's check the NPM Method, start building the Shopify App, and make sure you have the latest version of node.js.

To check the app version:

json
npm init @shopify/app@latest

Once you fire start 'npm run generate extension', it will ask you to log in to the Shopify partner dashboard. If there is no two-factor authentication setup, it will ask for setup.

Step 2: Start New Project

After successfully logging in to the Shopify partner dashboard, the CLI tool asks for the App Name; if multiple App are in projects, it gives a different name. You will continue with the suggested name by the CLI tool.

After the firing, the CLI command asks you to enter the Project Name, which you can change later, for example, "free-gift-product."

After entering the product name, CLI asks to choose a library to start the Project.

Start with Remix (recommended)
Start by adding your first extension.
We will start by using Remix for our Shopify App.

The CLI tool will ask for the type of extension you want to build; in this example, we use Checkout UI from the Discounts and Checkout section of the suggestion. And we will extension the name of the extension in CLI tool.

Step 3: Choose Language

After choosing Remix, CLI asks to select the JS language.

Javascript
Typescript

We will use JavaScript in this blog, and CLI will start building your App.

We already selected Javascript as the language in the Project section so that we will choose Javascript React here. Now, your App has started building in the Project.

Step 4: Run Extention

Once your App is built, you can run the App in the CLI tool via the command 'npm run dev'. Then, the command will return the preview URL; you can visit that preview URL in the browser.

Run 'cd free-gift-product'
For extension, run 'npm run generate extension'
To see your App, run 'npm run dev'

Preview the URL and have Developer console Access, allowing you to install the App into your test stores. To make the function and position of the extension target, you can start the installation process by clicking on the App Home link. After installation, it will open the admin setup area of the extension.

Once you click on the extension target link, you will see the output of the sample code in the checkout area. For expert advice, go to the Elightwalk to hire skilled developers and complete your projects.

Here are Several Configuration to Be Aware of as a Developer.

Developers must also be aware of specific requirements or constraints for the Project. This includes compatibility with specific operating systems or devices. These practices help to grow your business in the right way!

Extension Targets

Developers can add custom content to specific points in the checkout process, known as extension targets. These targets are either static or tied to the main checkout features, such as contact information, shipping methods, and order summary line items.

Block extension targets can be displayed and will always render at any point in the checkout process, regardless of available features. For example, information showing about Free Shipping or Free Gift Products.

The extension uses Remote UI to provide a fast and secure environment for custom UI rendering.

import {
  reactExtension,
  Banner,
} from '@shopify/ui-extensions-react/checkout';
export default reactExtension(
  'purchase.checkout.block.render', // Remote UI
  () => ,
);
function Extension() {
// Using Shopify Prebuild UI Components.	
  return Your extension Infomation;
}

Configuration File

When you create a checkout UI extension, Shopify generates the shopify.extension.toml file for you in the extension directory. This file provides a complete configuration of the extension, including the extension name, extension targets, metafields, capabilities, and settings definition.

api_version = "2023-07"
[[extensions]]
type = "ui_extension"
name = "My checkout extension"
handle = "checkout-ui"
  [[extensions.targeting]]
  target = "purchase.checkout.block.render"
  module = "./Checkout.jsx"

Extension APIs

checkout process by facilitating access to relevant information and enabling action execution.

For example, you can use the APIs to retrieve what's in customer shipping information to show information accordingly.

Extensions use JavaScript to access data and external services and render UIs using Shopify's checkout components.

import {
  reactExtension,
  useShippingAddress,
  Banner,
} from '@shopify/ui-extensions-react/checkout';
export default reactExtension(
  'purchase.checkout.delivery-address.render-before',
  () => ,
);
function Extension() {
  const {countryCode} = useShippingAddress(); // Extension API Example
  if (countryCode !== 'US') {
    return (
      
        Sorry, but we are only able to ship to the USA at this time. 
        time
      
    );
  }
}

UI components

Shopify's Checkout UI extensions declare their interface using supported UI components and render the UI natively. This approach guarantees superior performance, accessibility, and seamless operation across checkout's supported browsers.

The checkout components are created to provide flexibility and allow you to layer and combine them to build tailor-made app extensions that blend smoothly with the checkout process. These components automatically adopt the branding settings of the merchant, and their CSS cannot be modified or replaced.

import {
  reactExtension,
  BlockStack,
  InlineStack,
  Button,
  Image,
  Text,
} from '@shopify/ui-extensions-react/checkout';
export default reactExtension(
  'purchase.checkout.block.render',
  () => ,
);
function Extension() {
  return (
    
       // Image UI Component
      
        Heading Text  // Text UI Component
        Description Text // Text UI Component


  );
}

This configuration helps to create a user interface with a small description text, a block stack, and a button component. The button component has an onPress event that logs a message when the Button is hit.

Conclusion:

Creating a Checkout UI extension for Shopify provides a unique opportunity to enhance the customer's checkout experience. You can leave a lasting impression on your audience by tailoring the interface to align with your brand's aesthetics and functionality. The steps this guide outlines are a foundation for developing a customized and seamless checkout process for your Shopify store.

In Short, leveraging Checkout UI extensions allows merchants to go beyond the standard checkout experience, providing a tailored solution that aligns with their brand identity and user expectations.

Elightwalk provides quality work by understanding your time and value. We are committed to giving satisfied and brilliant quality work with an expert development team.

Hire Shopify developer with a lot of expertise in developing Shopify projects to suit your commitment. Our team of knowledgeable developers will guarantee that you obtain effective and superior services for any Shopify project.

FQAs about Shopify extension

What benefits does a checkout UI extension provide in Shopify?

What features can a checkout UI extension offer in Shopify?

What makes apps different from UI extensions?

How do I measure the extensibility of the checkout UI?

Pravin Prajapati
Full Stack Developer

Expert in frontend and backend development, combining creativity with sharp technical knowledge. Passionate about keeping up with industry trends, he implements cutting-edge technologies, showcasing strong problem-solving skills and attention to detail in crafting innovative solutions.

Most Visited Blog

Blog
A Comprehensive Guide to Creating Shopify Webhook

Using automated procedures will improve the management of your Shopify store. Our comprehensive guide to creating Shopify webhooks will walk you through the entire setup process, from creating webhooks to integrating them into your store. Learn how to create and manage webhooks in simple steps.

Read More
Blog
Everything You Need to Know About Checkout/Cart Page Summary Definition of checkout/cart page

Uncover a thorough grasp of the Checkout/Cart Page summary. Dive into all you need to know about this e-commerce element, learning its definition and importance for a smooth online purchasing experience.

Read More
Blog
The Ultimate Guide to Cart Checkout GraphQL

With Ultimate Guide to GraphQL, you can dive into the realm of Cart Checkout. Discover the power of simplified interactions, frictionless transactions, and enhanced user experiences.

Read More